Brands have heavily relied on push notifications to communicate and engage with customers. Push notifications provide instant, direct communication channels between apps and customers, enabling real-time updates and information. Brands use push notifications to send various communications, including promotions, news updates, reminders, and personalized content, fostering improved customer engagement.
In 2019, the opt-in rates of push notifications were as high as 91%! This made push notifications a great choice for marketers. However, all of this changed with the arrival of Android 13.
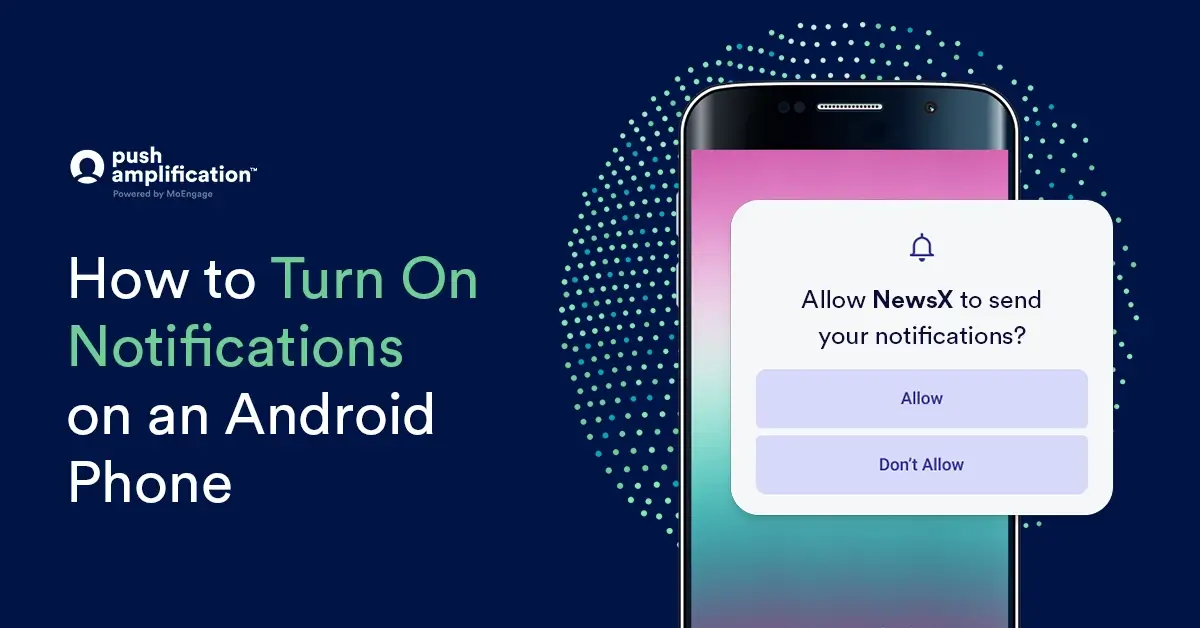
Android 13 Push Notifications Opt-Ins Are Here
Historically, push notifications didn’t need explicit permission from customers to be delivered to their devices. However, in 2022, when Android 13 came into existence, this landscape shifted.
Android 13 allows customers to decide which apps to receive notifications from, altering the previous paradigm where brands could send notifications without explicit consent. Android 13 shifts the balance of control to customers by defaulting to an “OPT-OUT” approach, a complete departure from the previous Android 12 and earlier versions, where customers were automatically enrolled to receive notifications. The opt-in behavior varies depending on the targeted Android version, outlining how applications handle this process.
Based on Google’s internal statistics, Android 13 is now the most popular version of the OS, running on 22.4% of the devices out there.
While this change will likely affect opt-in rates, it presents a substantial opportunity for marketers. It necessitates a shift in strategy, encouraging them to focus on crafting campaigns that prioritize meaningful customer experiences and foster long-term loyalty.
Marketers can only work with push notifications to manage the customers’ permissions. To understand how you can turn on notifications on your Android phone, let’s first understand how an application asks for notification permissions –
Push Notification Opt-In Process
Existing mobile app customers previously granted notification permissions before upgrading to Android 13 retain their opted-in status temporarily, but only until they open the application for the first time after the Android 13 upgrade.
For both new customers and existing ones who chose to opt out before the device upgrade, they continue to remain opted out by default.
Once an application is launched for the first time after the Android 13 upgrade, this temporary grant expires, requiring all apps to request notification permissions again.
- Choosing ‘Allow’ opts the customers back in, and this can be reversed by disabling notifications in settings.
- Selecting ‘Don’t Allow’ retains the customers’ opted-out status, and you cannot request permission again.
- If the prompt is dismissed or ignored, the customers remain opted out, yet you can continue requesting permissions until they explicitly choose ‘Allow’ or ‘Don’t Allow’.
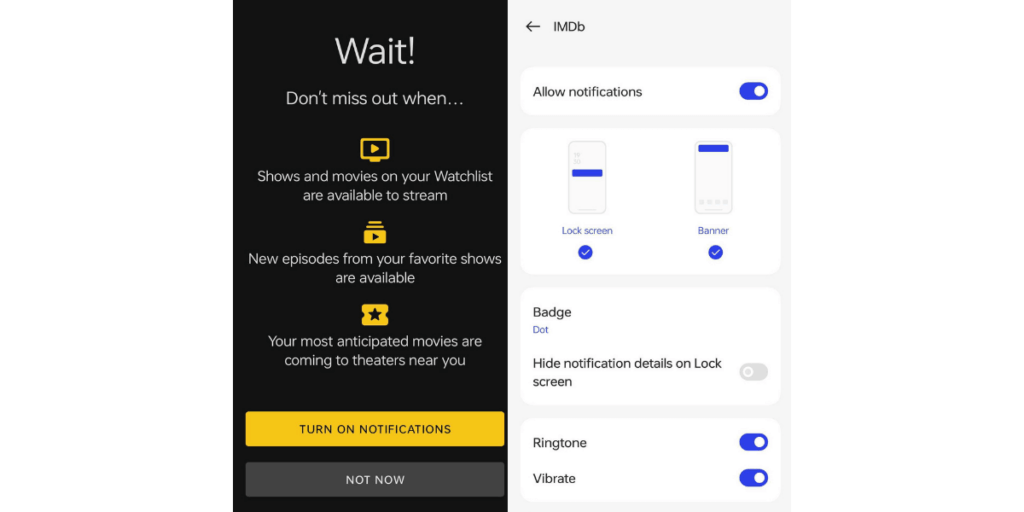
Android empowers applications with complete control over when and where the notification prompt appears. This means it doesn’t have to trigger solely on the first app launch; it can occur at any point in the customer journey. However, since the prompt can’t be triggered again once ‘Don’t Allow’ is selected, it’s crucial to identify high-intent moments for prompt display. From here on, the customer has to allow specific apps to send them notifications manually.
Here is how customers can manually allow notifications on their Android phones –
How to Turn On Notifications on Your Android Phone
Here’s a step-by-step guide to turning on notifications on an Android 13 phone:
- Access settings: Unlock your Android 13 phone and locate the Settings app. It usually looks like a gear icon and can be found in the app drawer or by swiping down the notification panel and tapping the gear-shaped icon.
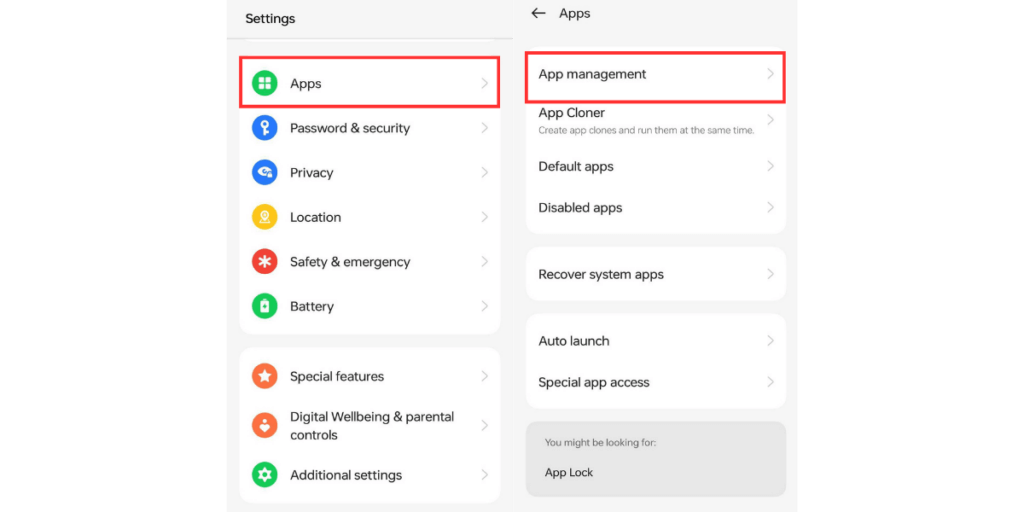
- Navigate to Apps and Notifications: In the Settings menu, scroll down or search for “Apps and notifications” and tap on it.
- Choose App Notifications: Within the Apps and Notifications menu, select “App notifications” or a similar option, depending on your device’s interface.
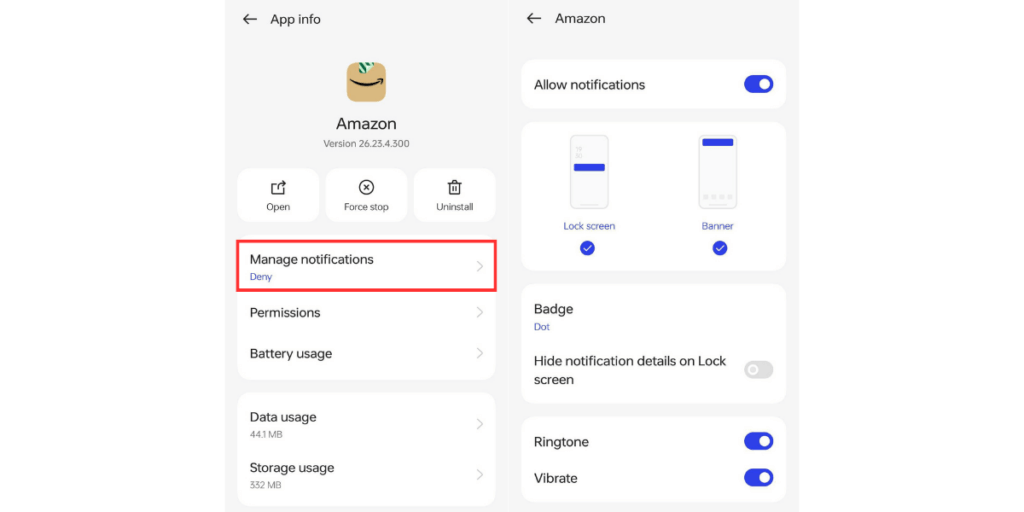
- Select the app: Find the specific application you want to enable notifications from the list of installed applications. Tap on the app name.
- Enable notifications: Once you’ve selected the app, you’ll see various notification settings for that app. Look for an option that says “Show notifications” or something similar, and make sure it’s turned on. You might also need to customize specific notification settings according to your preferences here.
- Additional settings (if needed): Some applications might have additional notification settings within their menus. You can explore these options within the app itself for more customization.
- Back out and confirm: After enabling notifications for the desired app, use the back button or navigation gesture to return to the previous screens. Confirm that the changes have been applied by ensuring the app’s notifications are now set to ‘On’ or ‘Allowed.’
The above steps usually work for customers to allow notifications from any of their apps. However, in case you have opted in and are still having issues receiving notifications from any of the applications, here is a step-by-step troubleshooting guide for you:
Troubleshooting Steps for Notification on Android 13
Here are the various methods you should try if you are facing issues while turning on notifications on your Android phone:
- Check Notification Settings
Go to Settings > Apps and notifications > Select the app > Ensure ‘Allow notifications’ is on.
Customize notification settings for each app as desired.
- Update Apps and Software
Open Google Play Store > Updates tab > Update apps.
Ensure your device’s operating system is up to date.
- Turn Off Battery Optimization Settings
Settings > Battery > Battery optimization > All apps > Disable battery optimization for the app causing issues.
- Enable Background Data
Settings > Network and internet > Mobile network/Wi-Fi > App data usage > Enable background data for specific or all apps.
- Turn Off Power Saver and Data Saver Mode
Power Saver: Settings > Battery > Battery saver > Turn off.
Data Saver: Settings > Network and Internet> Data usage > Data Saver > Toggle off.
- Reset App Preferences
Settings > Apps and notifications > Three dots (upper right) > Reset app preferences.
- Check App Permissions
Settings > Apps and notifications > Select the app > Permissions > Ensure necessary permissions are enabled.
- Clear App Cache
Settings > Apps and notifications > Select the app > Storage & cache > Clear cache and storage.
- Uninstall or Reinstall the App
Settings > Apps and notifications > Select the app > Uninstall.
Reinstall from Google Play Store.
- Turn Off Do Not Disturb Mode
Swipe down twice for quick settings > Locate and turn off Do Not Disturb mode.
- Factory Reset (Last Resort)
Settings > System > Reset options > Erase all data (factory reset).
What’s Next?
In the ever-evolving communication landscape, push notifications have been a cornerstone for brands seeking direct engagement with their audience. However, the game changed significantly with the advent of Android 13. This operating system shifted the dynamics, empowering customers with more control over which apps could deliver notifications.
Understanding this evolution is crucial for marketers. Android 13’s altered approach compels marketers to focus on crafting experiences that prioritize customer preferences, delivering value, and nurturing lasting customer loyalty. As the landscape evolves, the key lies in understanding these shifts and adapting strategies to cater to customer preferences and engagement dynamics.`